
Lorem ipsum dolor sit amet, dolor siterim consectetur adipiscing elit. Phasellus duio faucibus est sed facilisis viverra. Umero praesent nec accumsan nibh, eu grav da metus.
This is a demo store for testing purposes — no orders shall be fulfilled. Dismiss
 Jamaica
Jamaica
Jamaica
1 min read
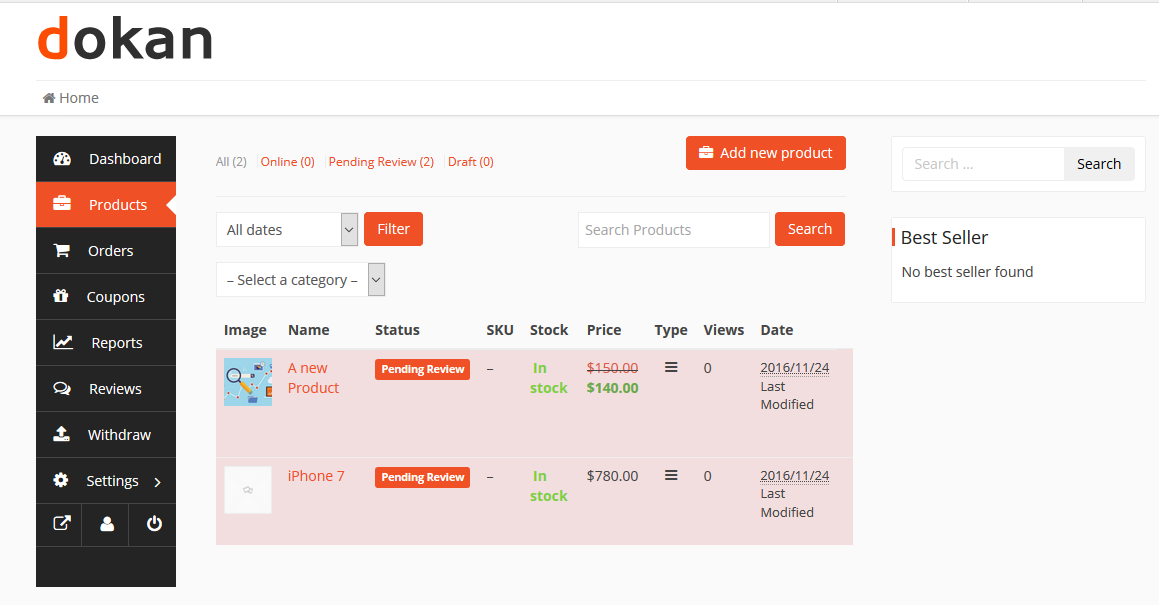
Adding your first product is a major milestone as a seller.
This guide walks you step by step through creating a product that looks professional, follows best practices, and is ready to sell using Dokan Multivendor.
Make sure:
📌 Good preparation saves time.


📌 Your product name affects search visibility.
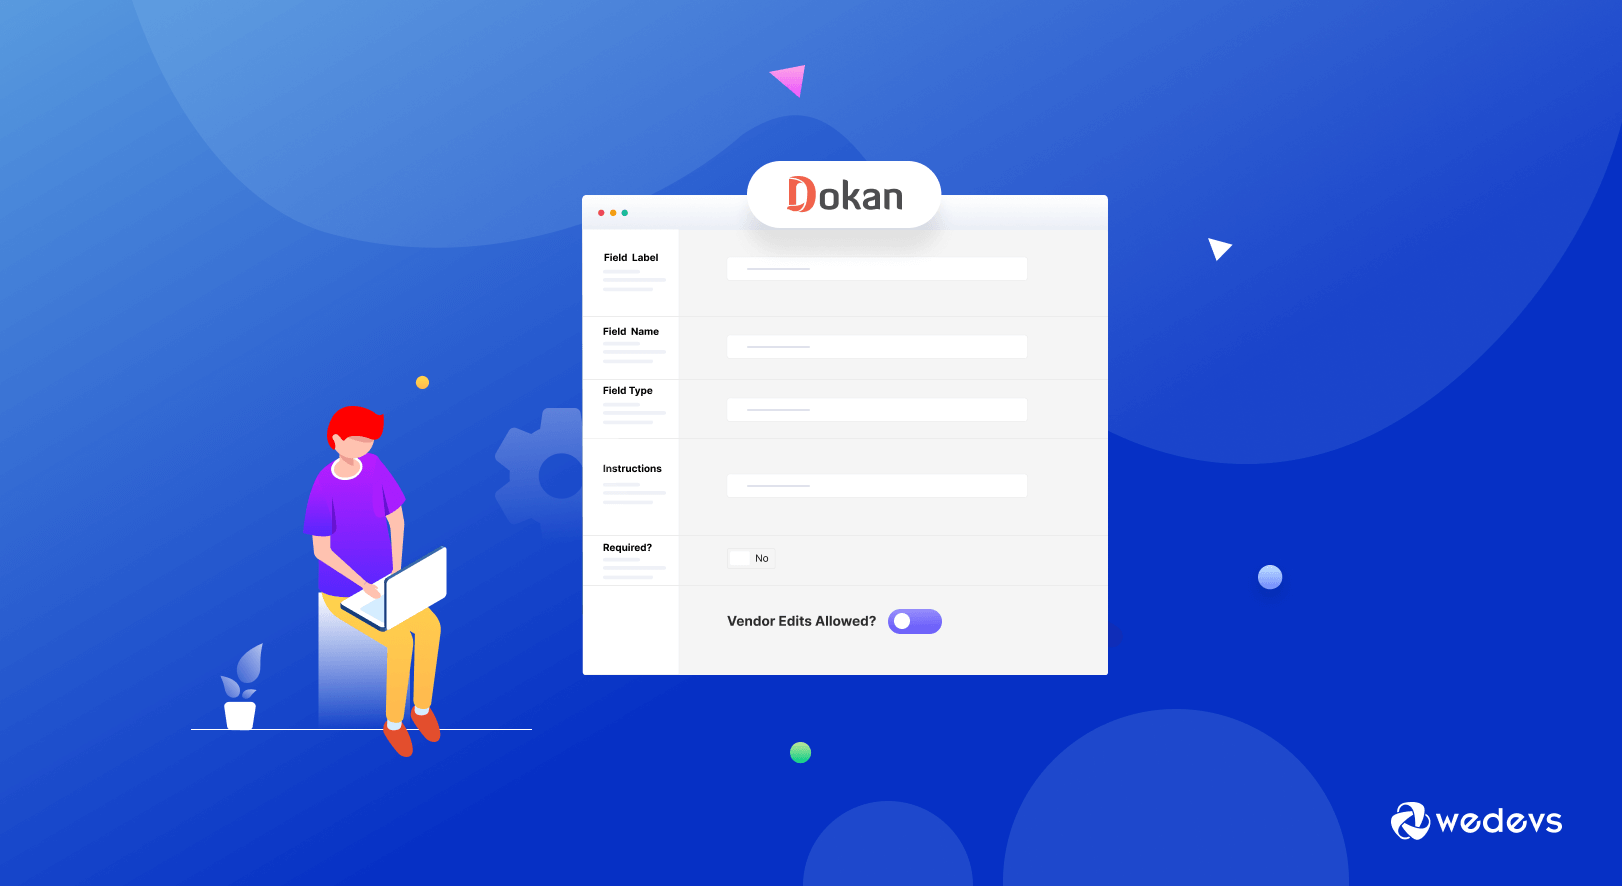
Enter:
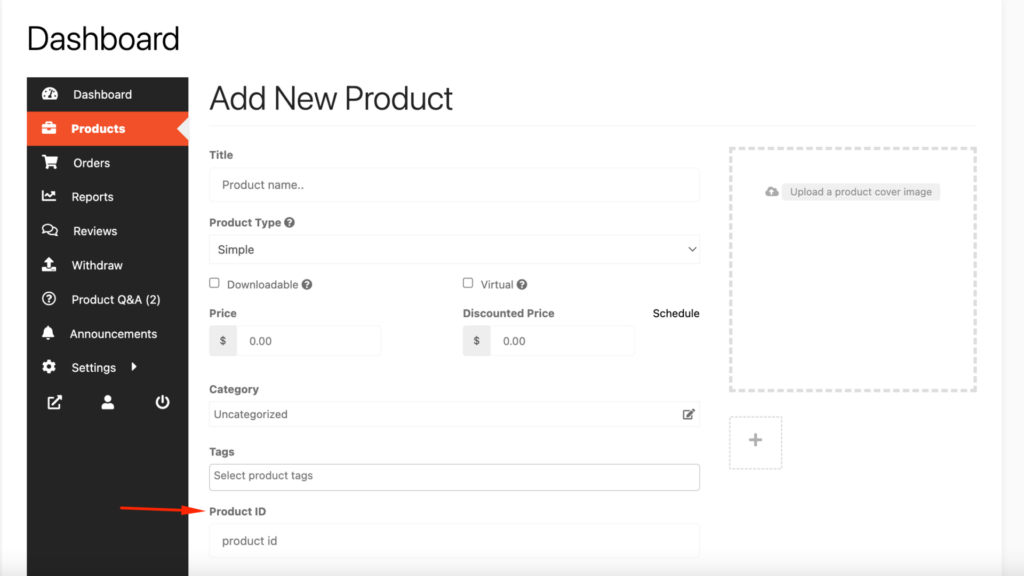

💡 Pricing tips:
✔ Include commission in your price
✔ Leave room for discounts
✔ Be competitive but profitable

Your description should include:
“High-quality cotton T-shirt, breathable and comfortable. Ideal for everyday wear.”
📌 Clear descriptions reduce returns.
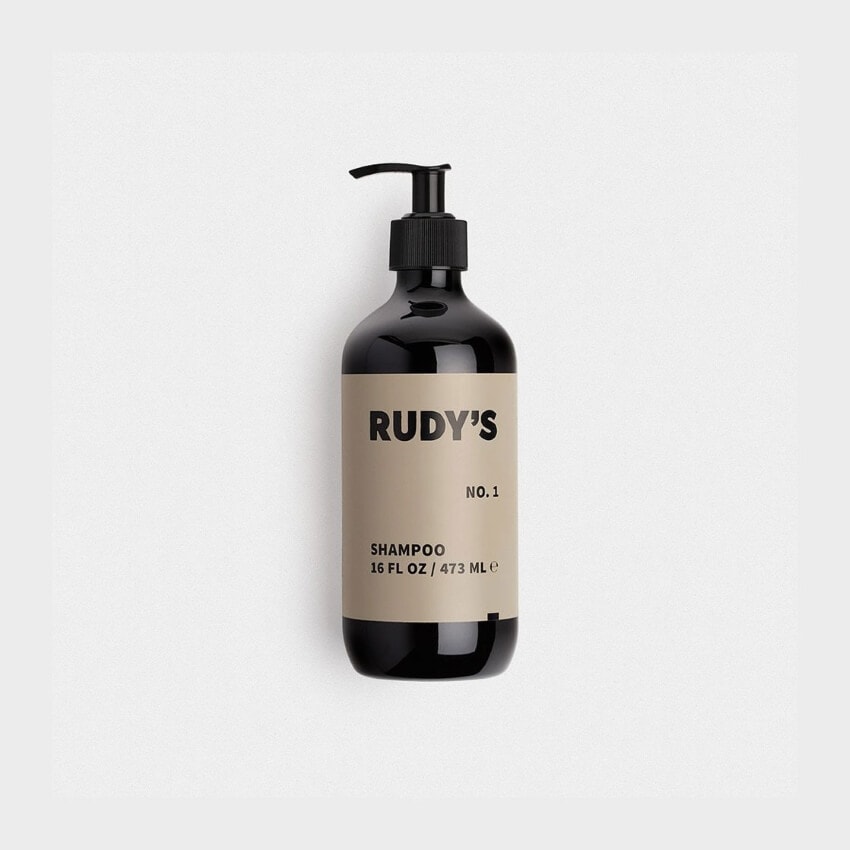
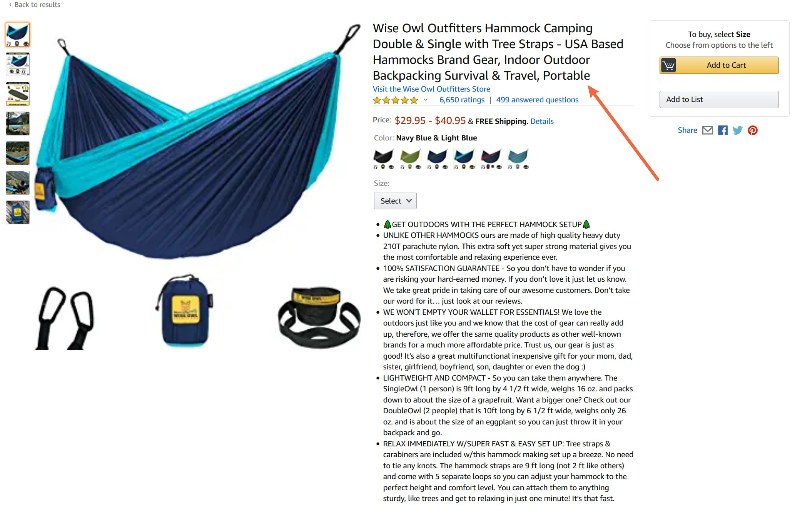
📸 Images strongly affect buying decisions.
📌 Wrong categories reduce visibility.
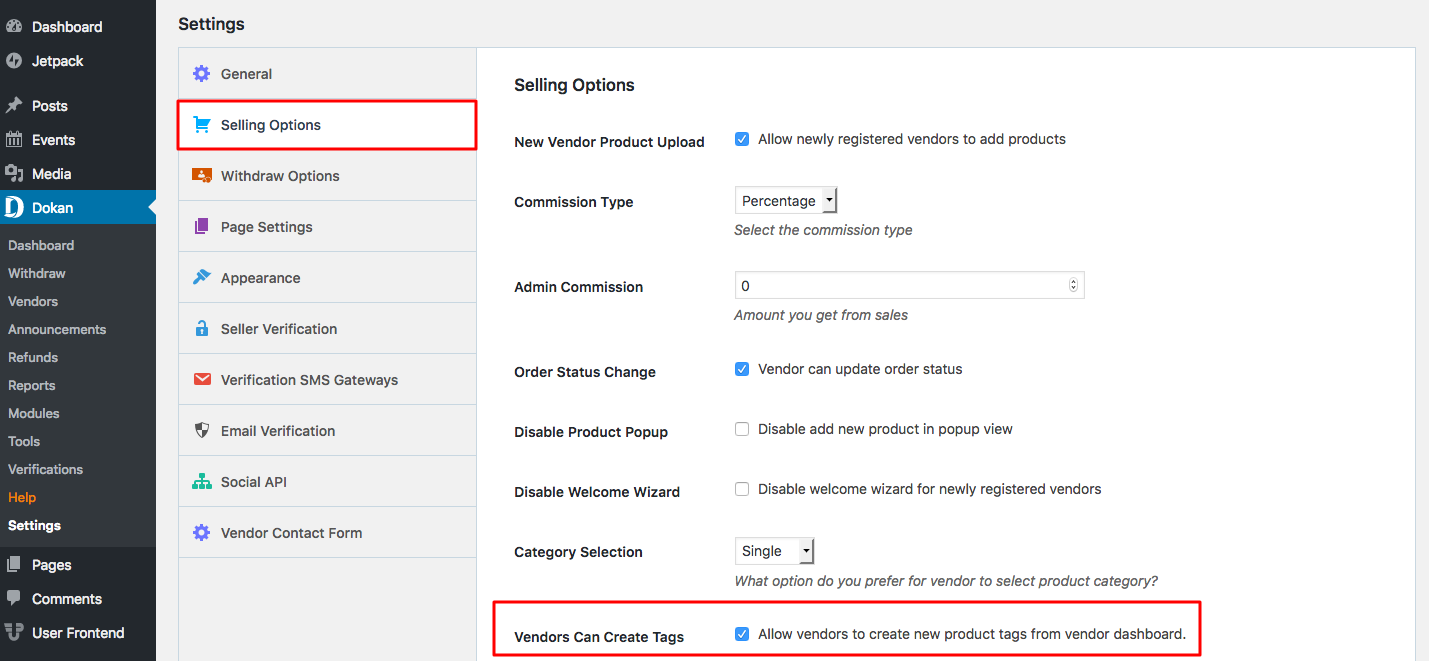
You can:
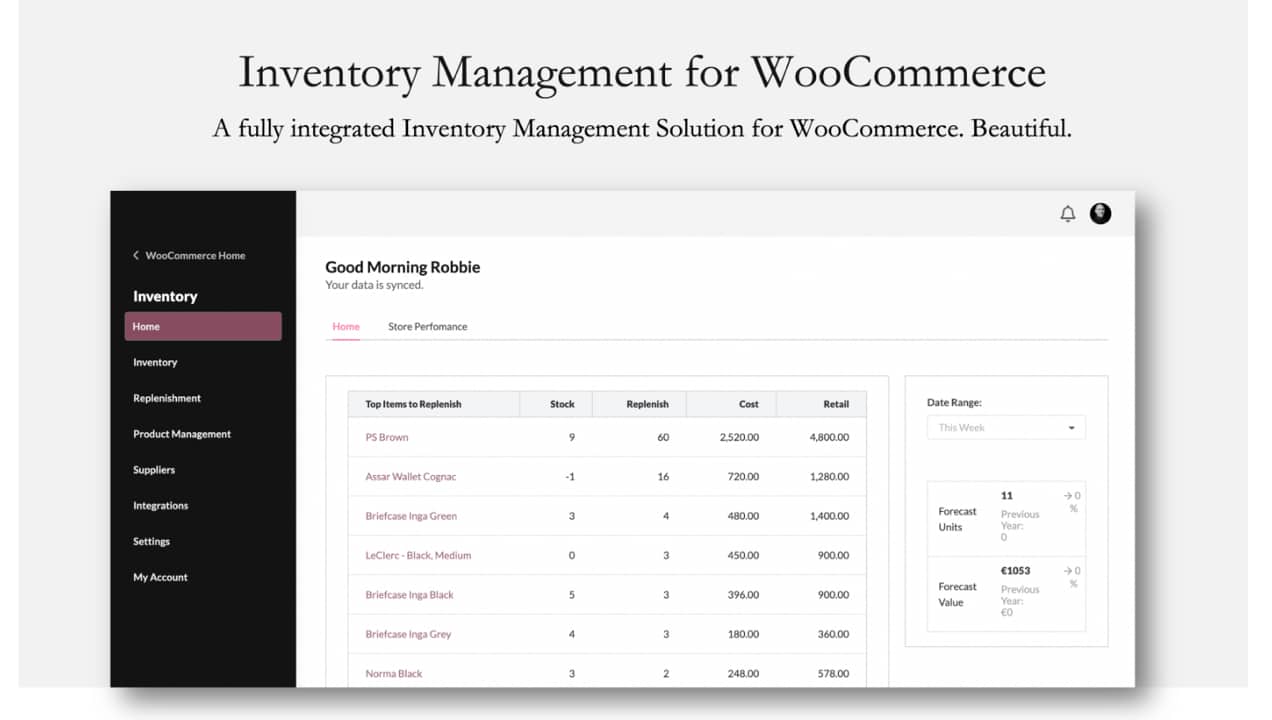
📦 Always keep stock updated.
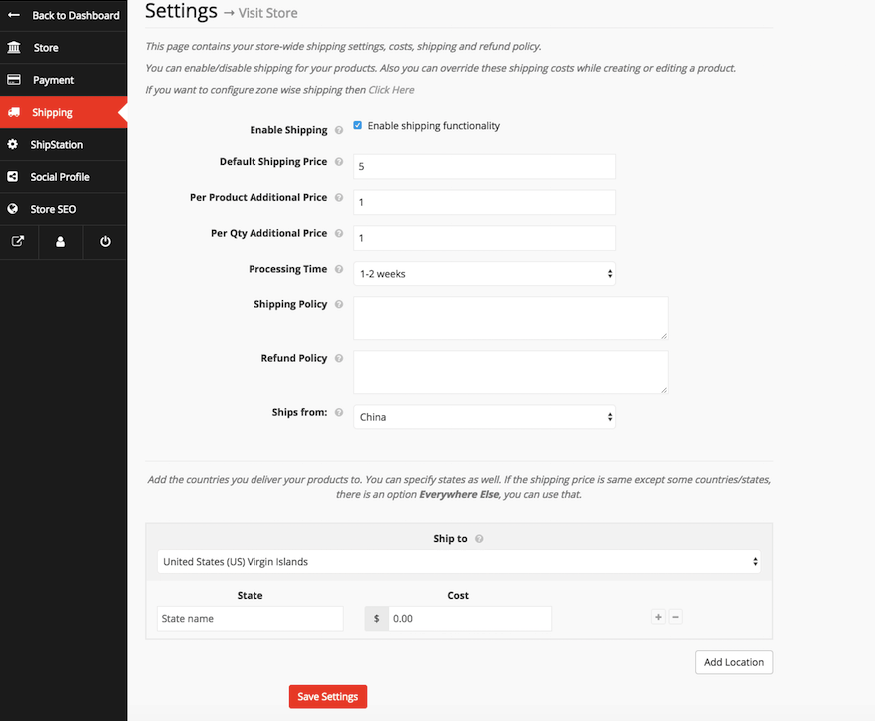

Set:
📌 Product shipping works with your store shipping rules.
Once everything is filled out:
⏳ Some products may require admin approval before going live.
🛒 Congrats — you’re officially selling.
❌ Uploading low-quality photos
❌ Pricing too low (forgetting commission)
❌ Leaving descriptions empty
❌ Choosing wrong category
⚠️ Fixing these improves sales quickly.
✔ Start with best-selling items
✔ Keep product info consistent
✔ Use similar photo style
✔ Test checkout as a customer
Your first product sets the tone for your store. Focus on clarity, quality, and honesty, and the sales will follow 📦✨


This chat uses automated responses for general guidance. For binding terms, please refer to our official policies.
Start A Conversation
Click here to chat with me!
Search our website now
Latest Products
Latest Posts
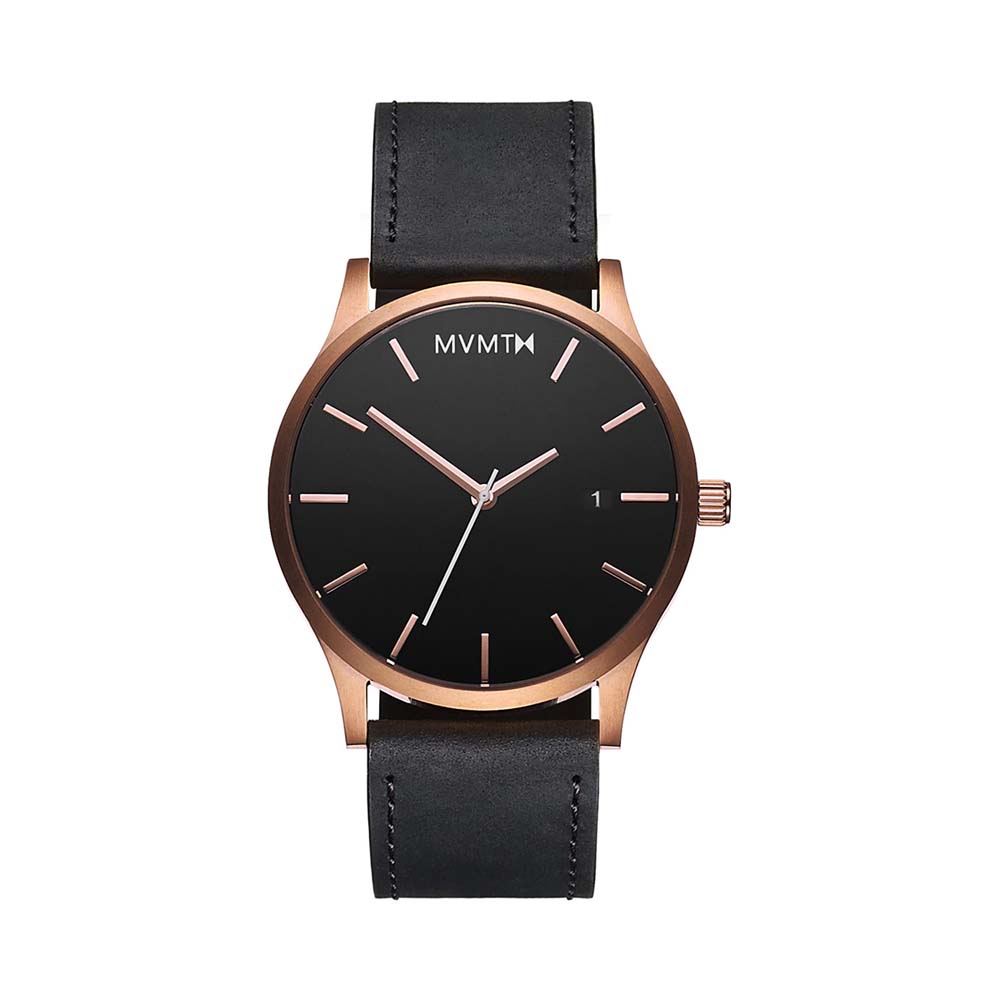
Tips how to choise a perfect watch foractive guys
Lorem ipsum dolor sit amet, dolor siterim consectetur adipiscing elit. Phasellus duio faucibus est sed facilisis viverra. Umero praesent nec accumsan nibh, eu grav da metus.
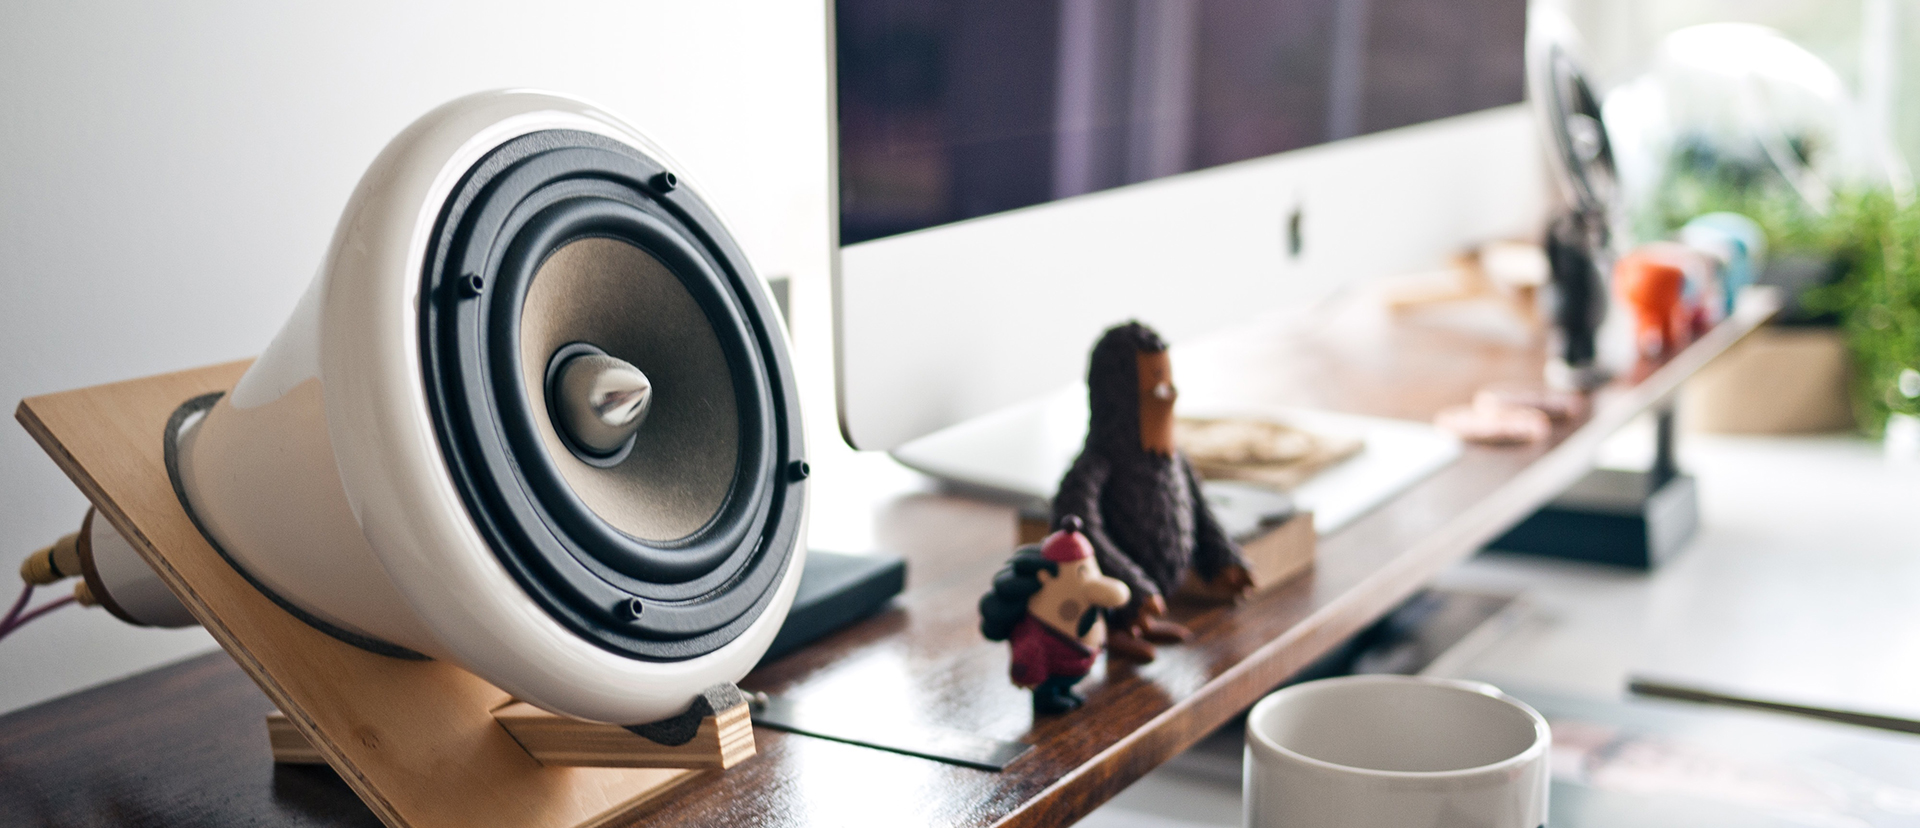
Harman Kadon Onyx Studio Mini, Reviews & Experiences
Lorem ipsum dolor sit amet, dolor siterim consectetur adipiscing elit. Phasellus duio faucibus est sed facilisis viverra. Umero praesent nec accumsan nibh, eu grav da metus.
Lorem ipsum dolor sit amet, dolor siterim consectetur adipiscing elit. Phasellus duio faucibus est sed facilisis viverra. Umero praesent nec accumsan nibh, eu grav da metus.
Lorem ipsum dolor sit amet, dolor siterim consectetur adipiscing elit. Phasellus duio faucibus est sed facilisis viverra. Umero praesent nec accumsan nibh, eu grav da metus.
Lorem ipsum dolor sit amet, dolor siterim consectetur adipiscing elit. Phasellus duio faucibus est sed facilisis viverra. Umero praesent nec accumsan nibh, eu grav da metus.

Subscribe to the Martfury mailing list to receive updates on new arrivals, special offers and our promotions.